Most Common Mistakes PC Builders Make When Making A PC
Building a custom PC is not an easy process. Mistakes happen when people make them. Let us explore common mistakes so that one can avoid them.
Imagine buying PC parts to make a PC, only for the computer to not work properly or even start. Well, you are not alone. There are many people out there who make simple mistakes when building a PC, even the veterans in the field.
While it is true that making a computer is far easier these days than it was long ago, but in spite of that, mistakes happen. So let us explore common mistakes people make so that one can avoid them.
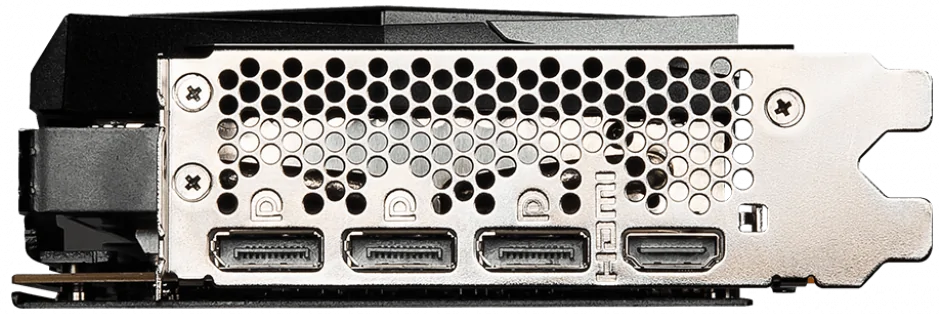
Plugging the HDMI cable into the motherboard instead of graphics card

Many people buy an expensive graphics card for gaming (this is especially the case due to the current prices), only to complain that their games are running really slow.
After a lot of troubleshooting, one comes to know that they inserted the HDMI cable (originating from their display monitor) into the HDMI slot of their motherboard rather than the HDMI slot in their graphics card.
It does not help the fact that some CPUs do come with a built-in, but low powered graphics processor. So many people cannot understand why their games are starting but still running so slow.
Additionally, unlike years ago, many boards do come with a built-in HDMI slot rather than just a VGA slot, causing further confusion, but that would be nitpicking.
Forgetting to power ON the PSU
Imagine. Building a PC. Installing everything correctly. Plugging all the wires properly. Then you press the power button, but nothing happens. You do everything to find out what’s causing it.
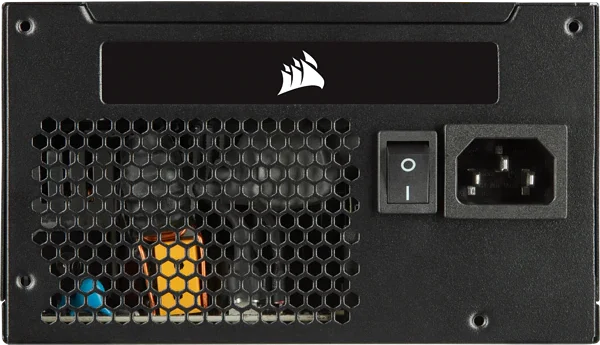
Whether the CPU is installed properly, whether the motherboard is working properly. Whether the RAM is inserted correctly. Everything looks fine. But it still does not work. Only for you to know that you have forgotten to press ON the power switch on the backside of the power supply unit (PSU).
As laughable as this maybe. It’s a very common mistake PC builders and computer repairers make after building a PC or repairing it. People either do not know or tend to forget that a power switch exists on the PSU on the back of their computer.
Cheaping out on the PSU
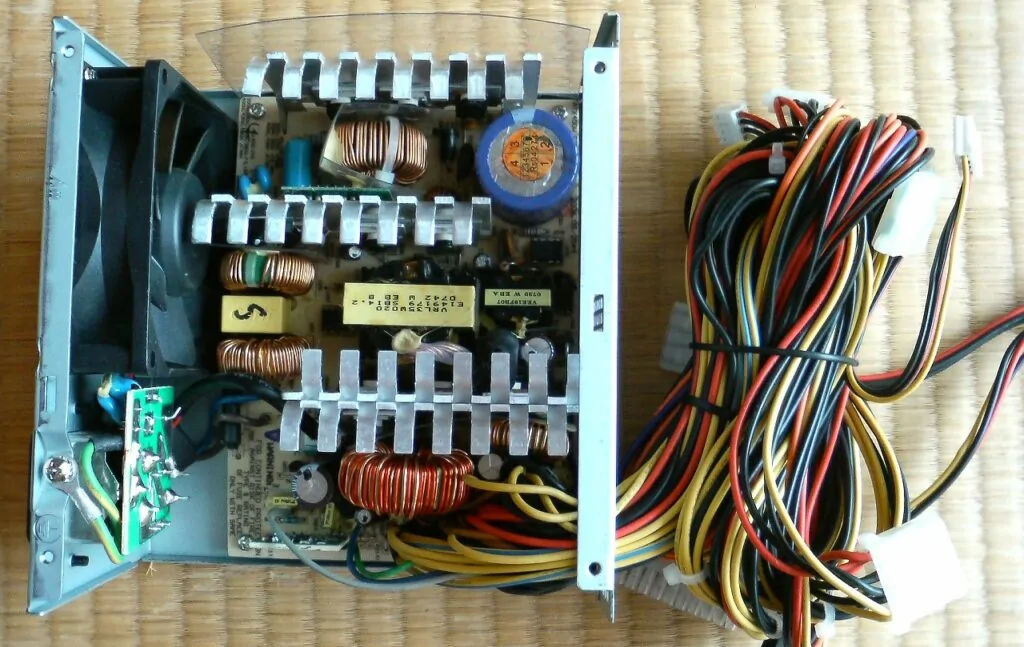
A lot of people buy an expensive CPU and graphics card for their computer, with a good motherboard and RAM. But they do not pay enough attention to their PSU.
PSU is among the most important part of the computer. Yet hardly any attention is paid to it. A bad quality PSU can be made from cheap parts which can cause electrical jitter and noise which can damage the expensive parts inside the computer in the longer run.
Not only that, a bad quality PSU might not come with important features like overpower protection, over-voltage protection, under-voltage protection, over-current protection and others.
Guys at the Cultist Network have created a good list of PSU which one can buy and avoid depending on their needs. General rule of thumb is that Seasonic PSUs do not disappoint. But that is a personal opinion.
Putting too much or too little of thermal paste on CPU
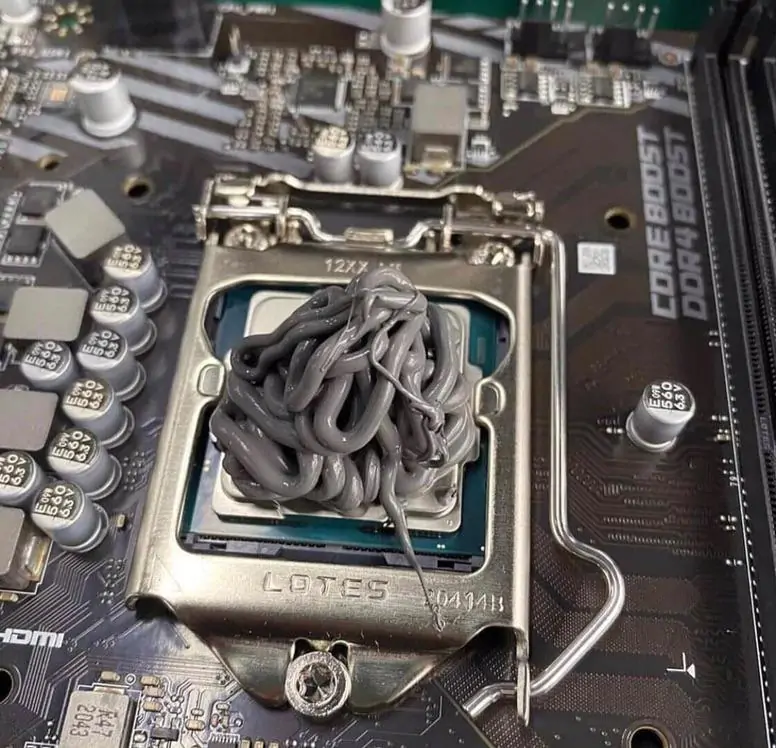
Many people buy an aftermarket CPU cooler. While the CPU coolers that come with the processors sometimes have the thermal paste or thermal compound pre-installed on the aluminum heat sink of the CPU fan, aftermarket CPU coolers need manual application of the thermal paste.
While it’s true that it does not cause any major problems if one puts an extra amount of thermal paste on the CPU, it does become messy. Yes, many thermal pastes are not electrically conductive (which is a good thing as it won’t cause any short-circuit), but it will still make it really hard for one to clean it after it dries. Also, it can seep into the parts or pins, causing undesirable problems.
Another problem happens when people put too little of the thermal paste, fearing about applying too much of it. That’s wrong too. The problem with that is, CPU’s important parts that heat up too much do not get covered properly.
Ideally, one can put a pea sized blob of thermal paste on the CPU and be done with it. But that differs based on the CPU model and make.
Running RAM at slow speeds
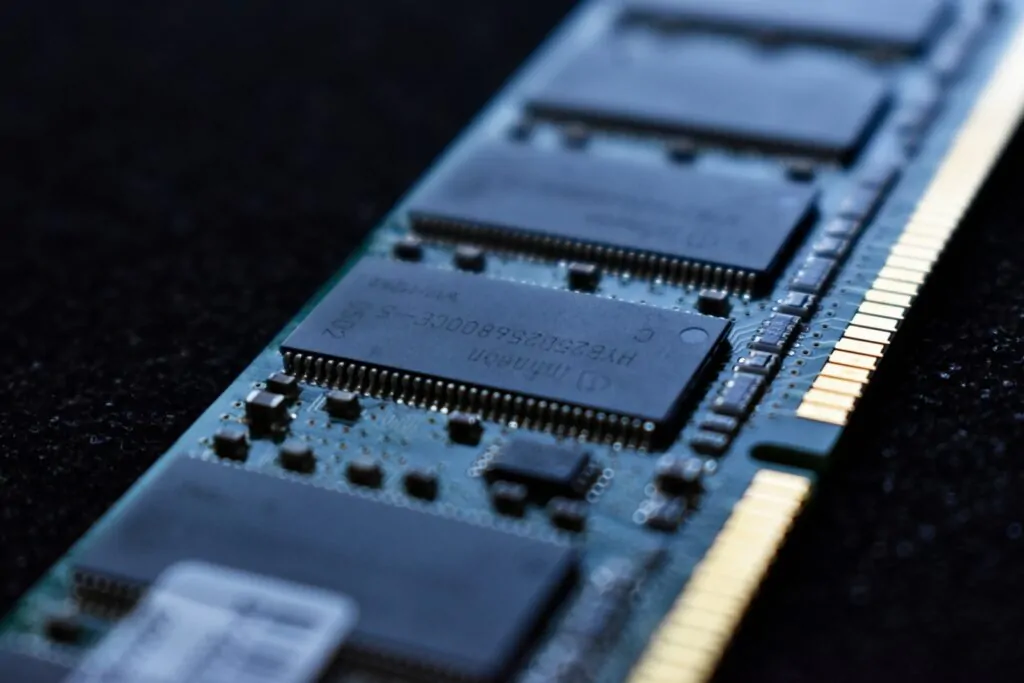
A lot of CPUs and motherboards support fast RAM. But they do not work at fast speeds by default.
Many people buy a fast RAM, install it and find out that they are running at slower than intended speeds. That is because in order for RAM to work at higher speeds, one needs to change settings in the BIOS.
It is easy to fix the issue. Open the BIOS while booting, find the XMP settings of the RAM and enable it.
Not setting higher refresh rate for monitor

Many people buy a 144Hz or above display monitor and find no difference whatsoever when compared to their 60 Hz monitor.
They think the difference is not noticeable and continue to run it that way for a long time.
What they forget is to change the refresh rate in their display settings.
As simple as it sounds. People do not realize that the computer does not magically change the display refresh rate to the fastest one available. Instead, one needs to actually go into the display settings or graphics cards settings and change the refresh rate manually to the fastest one supported by the monitor.
One can check the refresh rate their monitor is running at on on this site.
Installing RAM in wrong slots
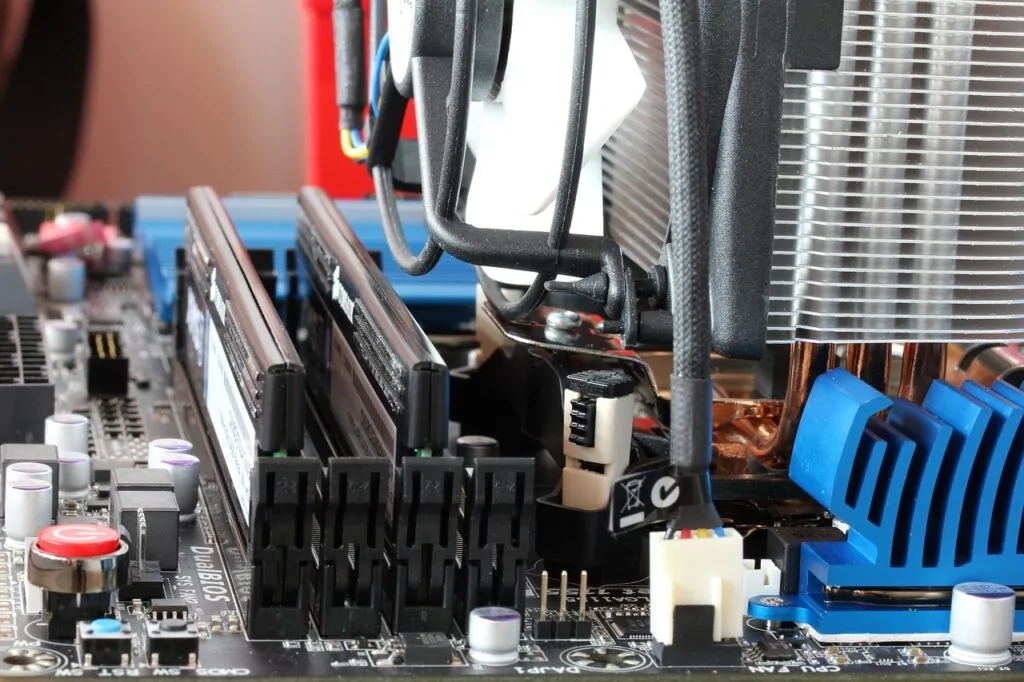
People buy two RAM sticks together, hoping that two RAM sticks might help them speed up the computer speed with a feature called dual channel memory.
Dual channel memory is a feature supported by many CPUs and motherboards. It allows two RAM sticks of the same make and model to run together and theoretically provide faster RAM speeds.
While their real world performance is controversial and subject to debate. People often forget to install their RAM sticks into their proper slots. The reason is, many motherboard makers allow RAM sticks to be installed only in a particular way. Like slot 1 and 3 or slot 2 and 4 for the RAM to work in dual-channel configuration.
One should check their motherboard manual to understand the correct method.
Forgetting to install standoff screws on the case
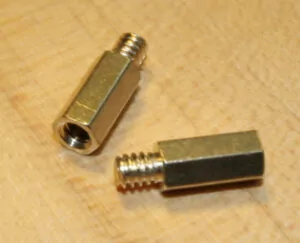
Standoff screws are tiny screws which one needs to install inside the computer case. They are inserted first, then the motherboard is installed on top of them. It prevents the motherboard’s solder points from touching the metal cabinet, hence preventing any shock circuit from happening.
Unfortunately. This small but important part is usually ignored by some, leading to many problems. We suggest everyone to install them the first, before installing anything else inside their PC case. They usually come with its accessories.
Forgetting to install I/O shield

I/O-Shield is a metal shield that comes with pre-cut shapes intended to be installed on the external ports of the motherboard on the back side of the computer case. They usually come with the motherboard accessories.
Some people forget to install them completely. Sometimes needing to fully open up the computer again in order to install it.
Incorrect case airflow
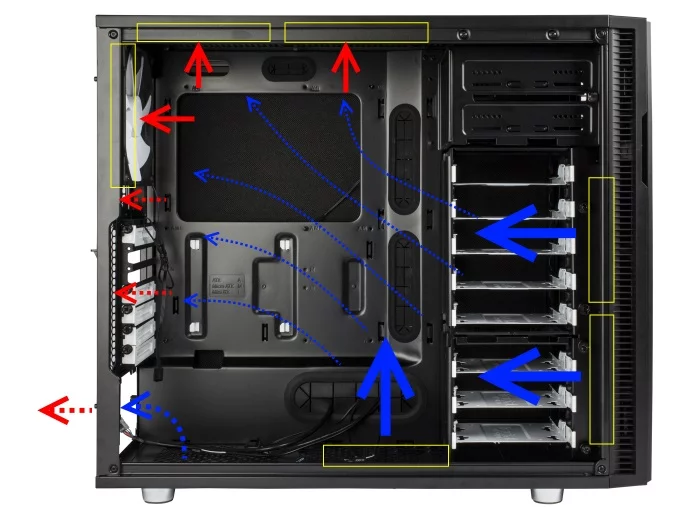
Parts inside a computer can get hot. In order to keep them cool, we install case and CPU fans. However, not everyone understands the correct way to install fans.
Ideally, a case should take in cool air from front and below and blow out hot air from back and top. This can be done by installing two fans in front and below and same sized fans in back and top.
A lot of people install fans incorrectly. Either too much of air or too little causes the case to heat up too much.
Let’s also not forget that case quality matters too. Some cases are better than others when it comes to the temperatures inside them. The guys at How-To Geek have made a good guide one can follow.
Buying incompatible parts

Choosing good parts is hard. Choosing correct parts is harder.
People buy computer parts only for them to be not compatible with each other. Most of the time it’s connected to the CPU not matching or working with the motherboard.
Those worried about buying incompatible parts should check out PCPartPicker. It has now become a gold standard of finding compatible CPU parts. Start with the System Builder, add a CPU and it will then recommend parts compatible with it.
Buying too powerful a PSU
Ideally, buying a PSU with higher wattage is future proofing it. Who knows how much of a powerful CPU or graphics card might release later.
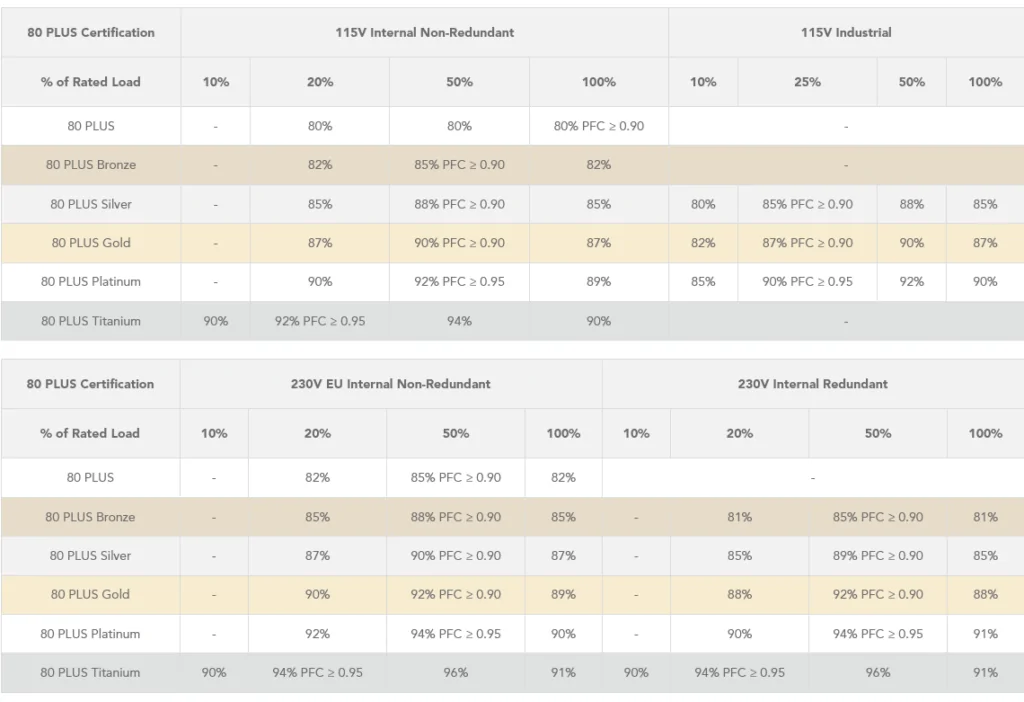
However, what people do not understand is the PSU watt certifications. A lot of people have come to us with a wrong understanding about them. They think that 80 Plus PSU certification means that a PSU will provide only 80% of rated PSU power. Thinking that a 500W PSU will provide only around 400W. Which is completely wrong. Believing in this wrong information makes people buy higher watt PSU than what they actually require.
What 80 Plus certifications actually mean is that they provide 80% or more efficiency. Meaning that a 500W PSU will always provide 500W power to the computer (when required) while consuming 600W or less.
There is more to it, though. PSUs have the best peak efficiency at around 50% usage (check above image). Meaning, buying a higher watt PSU is not always bad if the intention is to save electricity on the long term. The problem happens when people have wrong definitions of it.
While PCPartPicker does provide an estimate of wattage required. It’s good to calculate from other sources too.
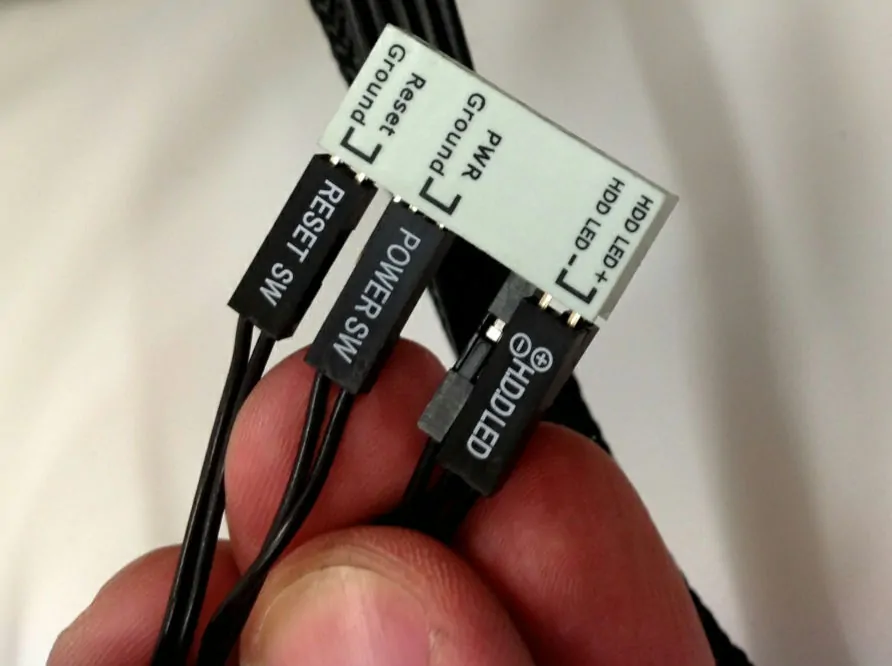
Incorrectly inserting front panel connectors
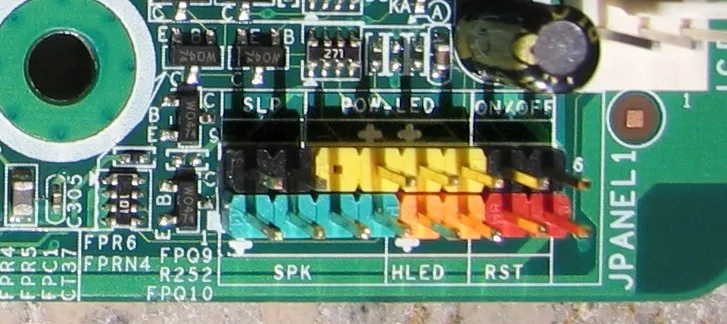
Computer cases come with various buttons and lights. These buttons and lights work only when the wires inside the case are connected to the motherboard.
In order to connect these wires, one has to put front LED, power, reset, USB wires in the motherboard very carefully.
Doing so is as hard as cracking a nuclear code sometimes. Hence, many times people insert these wires into the wrong places.
Sometimes power LED lights are inserted into HDD LED lights. Then sometimes power button wires are inserted into reset button and opposite. Sometimes wires are inserted in their own slot but are inserted in reverse. All this can cause issues.
There’s a solution to this problem though.
Some motherboard manufacturers provide a small plastic tool which makes it easy to install them. For example Asus Q-Connector shown above is an excellent tool. Just insert the wires correctly into the Asus Q-Connector and insert the Q-Connector into the motherboard. Easy as that.
Conclusion
We have tried to include every common mistakes we have come across. Are we missing something? Have you made a mistake while building a PC that has not been mentioned in the article? Do let us know in the comments.
Title image credit: Bretwa.
