People might find Adobe Photoshop’s pricing too expensive. Today we review Affinity Photo, which is an alternative to Photoshop, without the high costs associated with it.
Adobe Photoshop, a software considered an industry standard for creation, editing and manipulation of an image. It however comes with a huge cost associated with it. It’s subscription-only model costs $20.99 per month to almost $239.88 per year.
Compared to that, Affinity Photo, often considered a Photoshop alternative, costs $54.99 upfront without any additional monthly or yearly charges for the base software.
Affinity Photo history
Released in 2015, Affinity Photo is not entirely a new product. It has at least two decades of a history behind it. Affinity Photo is a successor of Serif PhotoPlus which was released way back in 1999. In 2009, Serif Europe Ltd., a British company behind these products, decided to make a new software from an entirely new code written from ground up as an successor Serif PhotoPlus – which was phased out when Affinity Photo released. Six years in making, Affinity Photo was finally released to the public in 2015. Windows version came a year later.
Developers of Affinity Photo claim to provide a lot of features. From editing of RAW image files, merging of HDR files, Panorama Stitching, Focus Stacking, Batch Processing, 360 Image Editing, Digital Painting, Unlimited Layers, support for Smart Objects but more importantly, ability to edit and export PSD files.
But the question is. Does Affinity Photo justify it’s Photoshop alternative tag. Does it come even near it. We decided to try to review the Windows version of Affinity Photo to find it out.
Download and Installation
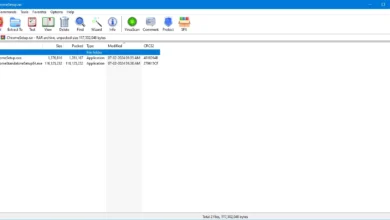
Downloading Affinity Photo is not entirely easy. One requires to create an account to get a download link emailed to their account. The file is 579 MB in size and downloaded quickly.
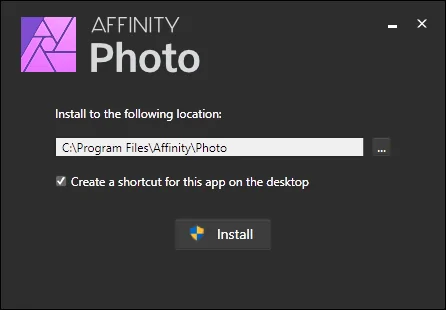
The installer uses a custom UI with the ability to install the software in whichever location one wants on the disk. The installation was done rather quickly.
When we ran the software after its successful installation, we were first greeted with a trial screen, then a beautiful splash screen, then a welcome screen.
User Interface
The new document page at start up had all the features required. From various image sizes, DPI, Orientation, Color format – including RGB/32 (HDR), Color profile, Transparent background option and other things.

When we started Affinity Photo, we immediately noticed how similar it looked to Photoshop, while still maintaining some of its originality.
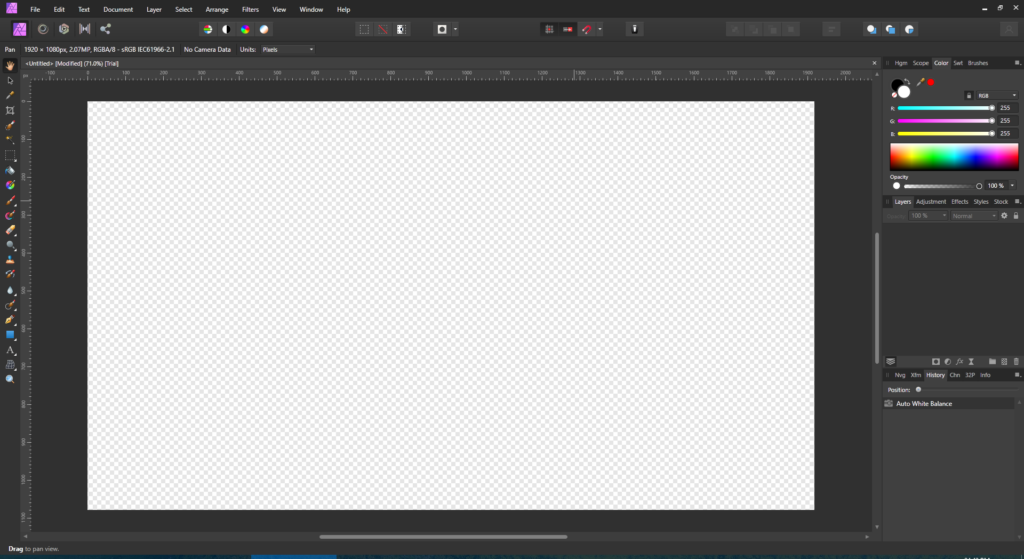
It has all the tools one commonly finds in an image editor. Hand tool, Move tool (something we enjoyed using), Color Picker Tool, Crop Tool, Selection Brush Tool, Flood Select Tool (similar to Magic Wand Tool of Photoshop), Marquee Tool of various shapes like Rectangle, Elliptical, Row, Column and also a Freehand Selection Tool. Other tools included Flood Fill (Paint Bucket), Gradient Tool, various Paint brush tools, Erase Brush, Dodge Brush, Clone Brush Tool, Blur, Sharpen and Smudge Tool. It also has Healing Brush, Patch Tool, Blemish Removal Tool, Pen Tool, various shapes creation tool, Text tools, Zoom tool and a lot more.
On right-hand side we have a “Studio”, with Histogram, Scope, Color selection, Brushes and others. Below it are Layers and their creation / deletion buttons. Layer effects look and work quite similar to Photoshop. It also has Layer adjustments which allows one to manipulate individual layers among other things. Even below is the Navigator, RGB color Channels selector and editor, also an Info tab which shows mouse location, memory efficiency among other things. We however had to manually find and enable History from the top View > Studio options to enable it.
Tools on top
What we liked was that Affinity Photo had special, easy to use tools on top.

It has Liquify Persona – which allows one to manipulate the size of various objects inside the photo with your mouse by dragging the area. Another option is Tone Mapping Persona, which allows one to modify the image with presets of various color and brightness tones.
The top tools also come with buttons like Auto Levels, Auto Contrast, Auto Colors and Auto White Balance. All of them automatically adjust the image to what Affinity Photo considers to looks best. Other buttons include Select All, Deselect, Invert Selection among others.
However, our favorite top side tool is Develop Persona, which is a feature which professional photographers might find useful with their RAW and other image files. It gives one an ability to edit and modify Exposure, Brightness, Contrast, Saturation, White Balance, Shadows and Highlights. In addition to it is ability to modify camera captures like Lens Correction, Noise Reduction, Tones modification, Split Toning and many other things. Making it almost a real life photo studio by itself.

Menus
The Menu of Affinity Photo has all the features one would expect. The File menu has an ability to Open New files normally, through Clipboard and also open New Panorama file among other things. One can also save files in a default .afphoto format native to Affinity Photo. It also gives an option to Export files in PNG, JPEG (JPG), GIF, PSD and many other formats.
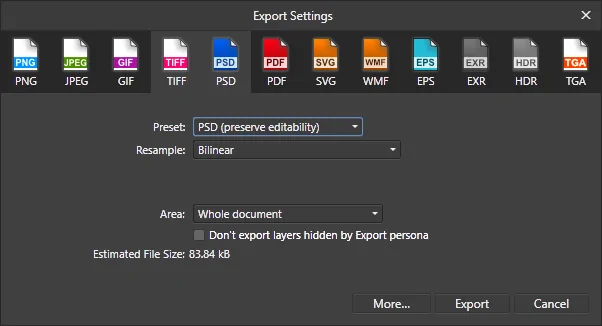
The ability to save the file (export) in PSD however was not complete satisfactory. While it did have options of saving PSD in two formats – preserve accuracy and preserve editability, it did not save our text layers properly in an re-editable manner, no matter which option we selected. This problem was not found in its native .afphoto format.
Edit Menu
The Edit menu has basic options like Cut, Copy, Paste, Fill and others. It however contains main Preferences options of Affinity Photo.
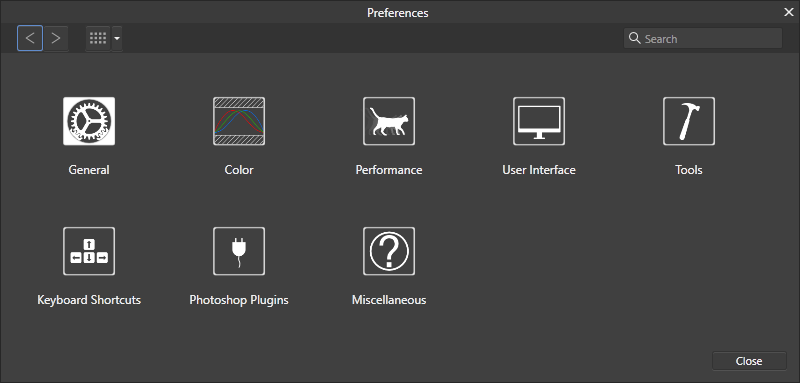
The preferences window comes with a lot of options like General tab – Startup options, clipboard options, Language options.
The Color tab offers various color profiles they use while using the software.
The Performance tab allows one to modify RAM usage limit, Disk usage warning, file recovery, View Quality, Renderer – with an ability to select GPU and Hardware Acceleration among other things.
The User Interface tab allows one to adjust Background Gray Levels, UI Gamma levels and UI Style – Dark or Light.
Other tabs include things like the Tools tab which allows selecting left-hand side toolbar sizes, ability to change Keyboard Shortcuts, Reset all settings, but most importantly, ability to add Photoshop plugins – this feature was a surprise to us.
Other menus
The Text menu has various options like Character options, Typography, Paragraph Styles, Text styles, Spell check and others.
The Document menu the gives ability to Add and Restore Snapshot, Resize Document – something which worked excellently in our trials, Resize Canvas, rotate and flip image.
The Layer menu has all the options we had mentioned previously – same as Layer options on the right. Blur, Shadow, Glow, Overlay, Gradient being some of them.
The Select menu gives an ability to Select All, Select specific layers or specific Color Range, Tonal Range and Alpha Range for individual editing.
The Filters menu is among the most interesting aspect of Photoshop and Affinity Photo disappoints here a little. It has almost everything, like dozens of Blur options, Sharpen, Distort, Noise, Detect, Color, Lightening, Shadows, Haze Removal among others. We however did not find any options to render clouds or add lens flare.
The View menu has Zoom options, Ruler, Grid, Margin options and ability to show and hide various objects on the screen.
The Help menu has Affinity Photo’s build in guide, which is one of the most detailed guides we have seen in a software. The menu also has a link to hundreds of video tutorials hosted on Affinity Photo’s official site.
Left toolbar
Coming back to the left toolbar that we had mentioned at the start of the article. We tried all the tools at our disposal and all of them worked as intended. Whether it was Flood Fill tool or whether it was Gradient tool or whether it was Paint Brush Tool – which came with a lot of options like Width (brush size), Opacity, Flow, Hardness, Blend and many other things. All of them worked as intended – some of them in fact worked better than Photoshop. However, we wanted to try what we consider our favorite feature of Photoshop – Content Aware tool. We knew Affinity Photo provided its alternative.
Content Aware and Inpaint
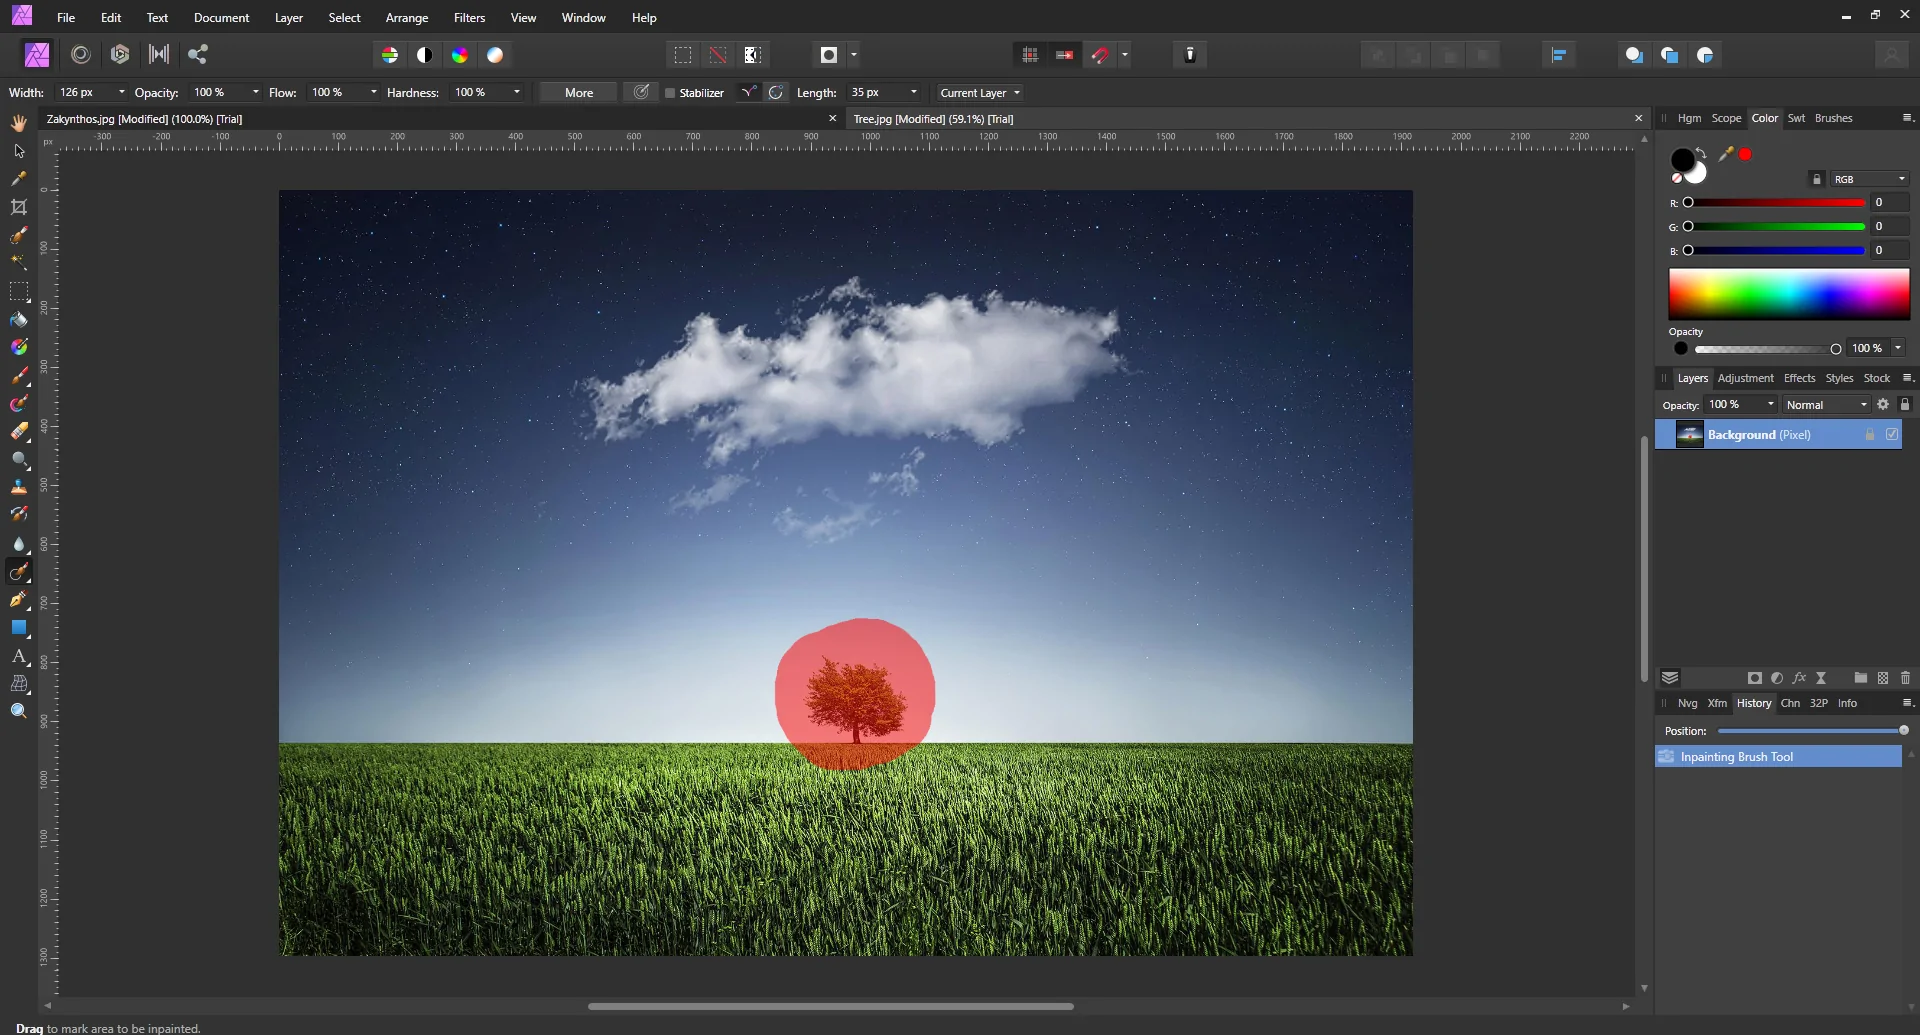
Content Aware is among the best features of Photoshop. It allows one to mark an area and make the object disappear completely from the image. The image editor fills the disappeared object with the background area and make it appear as if the original object did not exist. In Affinity Photo, this tool is known as Inpaint.
There are two ways to use this. One is to select and area with the Marquee Tool and then select the Inpaint option. The second option is to use the Inpainting Brush Tool. We used the second one as it is easier to use.
We chose a simple photo with a tree and used the Inpainting Brush Tool. See the results for yourself.
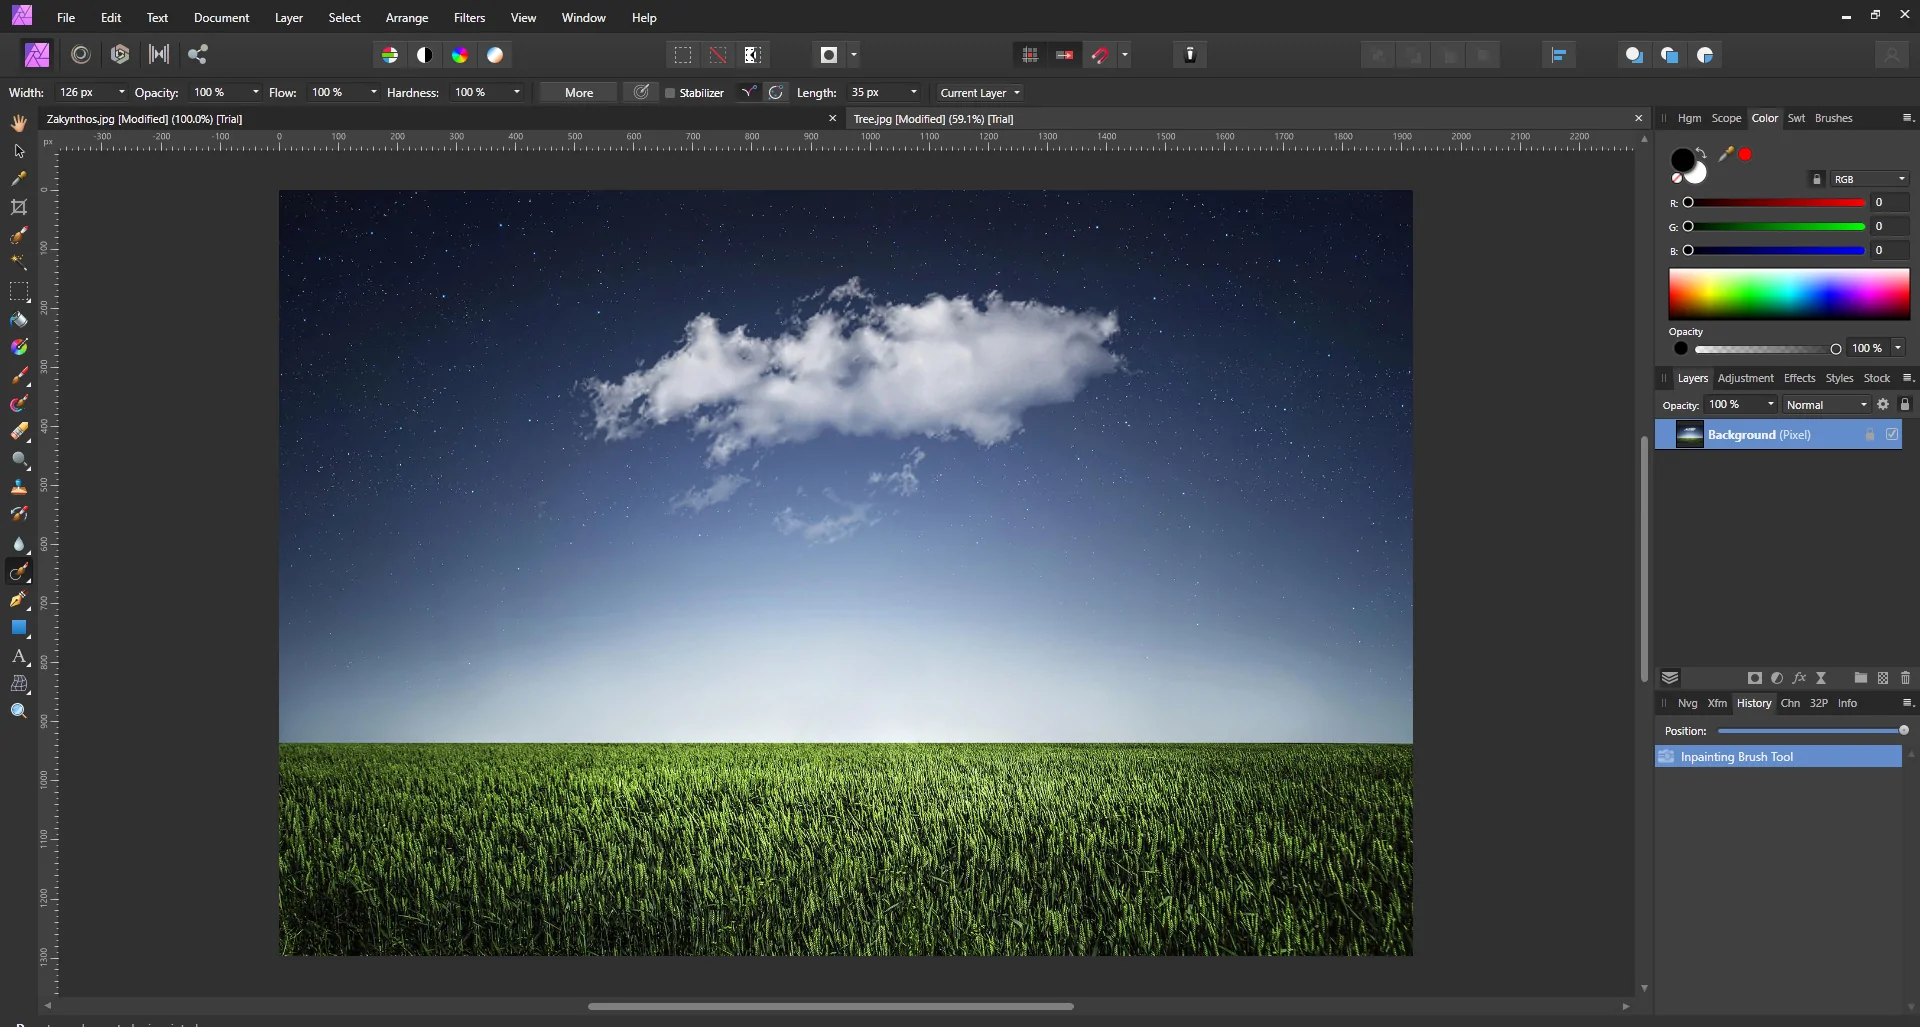
Looks good to us. But where is the tree?
Using advanced images might require advanced skills, though.
Conclusion and rating
We are not professional image editing experts. So we tried to review Affinity Photo to the best of our abilities. This was especially done with a consideration that the common users too might find benefit with this review, as professionals already might be aware about it. If anyone feels our review was lacking or insufficient or if there is any other way we could have improved it, then we would like to hear the feedback.
In our tests. We found that Affinity Photo has the ability to almost reach the Photoshop level of greatness. In some things, however, it pulls itself behind. But cheaper, one time payment cost is a huge advantage. Additionally, more features are getting added to it. So we recommend everyone to try it at least once. Maybe they can replace their favorite image editor with Affinity Photo.
Rating: 4.5/5.